Construction
Construction Timeline for a 10 Marla House: What to Expect at Each Stage
A stage-by-stage guide to the construction timeline for a 10 marla house, from approvals and foundations to grey structure, finishing and handover, and what usually causes delays.
By Naimat Khan8 min read
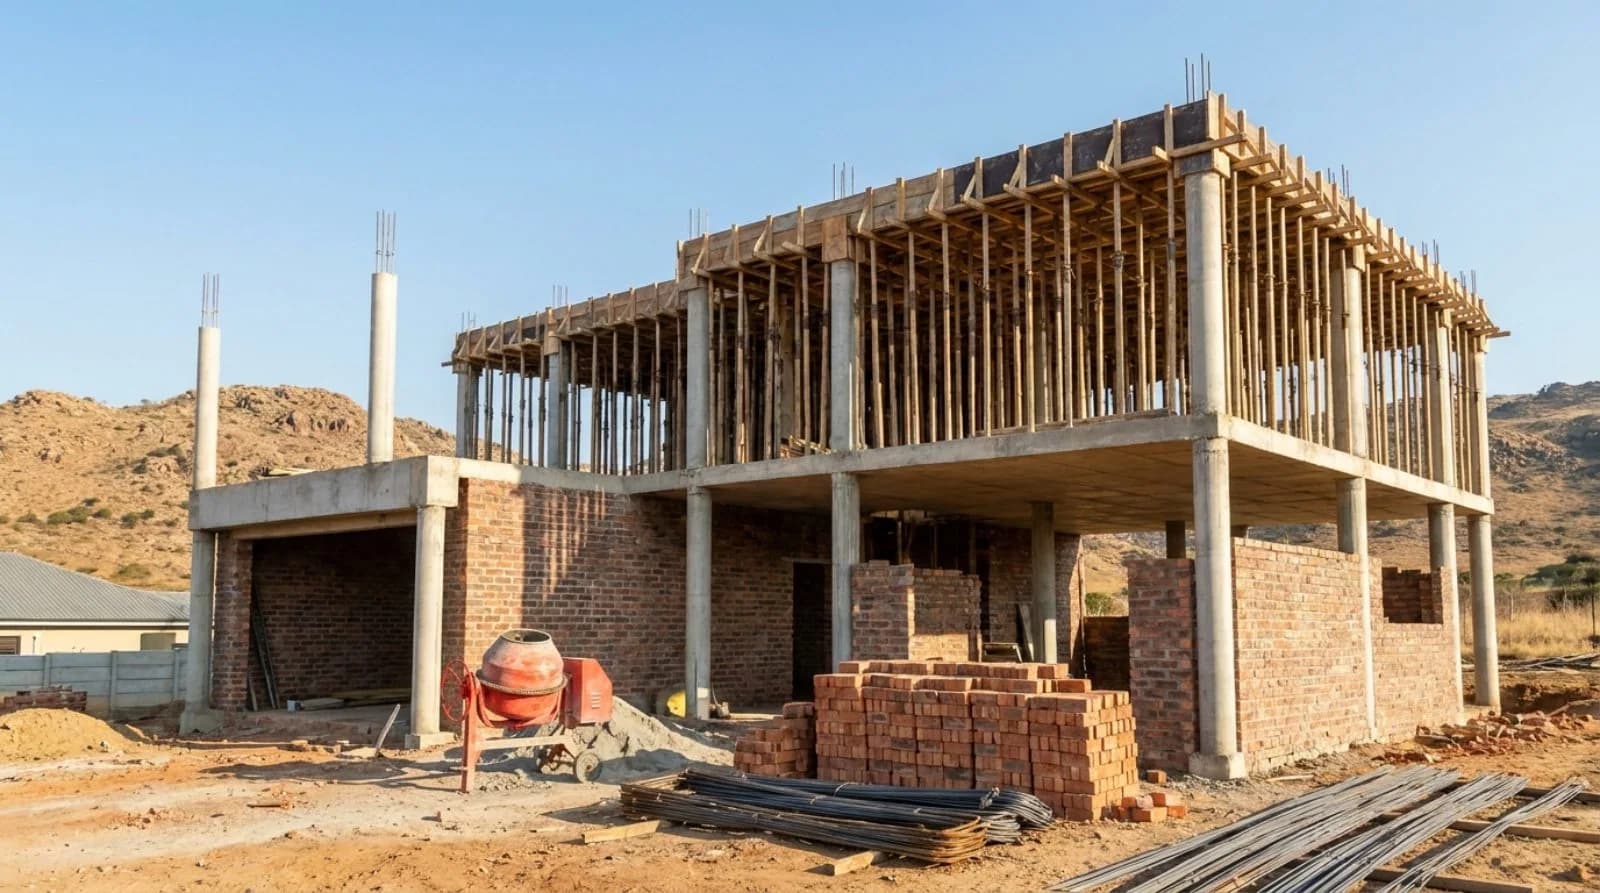
A realistic construction timeline for a 10 marla house is measured in months, not weeks. The grey structure usually takes a few months, finishing often takes as long or longer, and the total depends far more on approvals, payments, design decisions and weather than on how fast a contractor says they can work. This guide walks through each stage, what has to happen before the next one can start, and where delays usually come from, so you can plan your budget and expectations around a sequence rather than a promised end date.
We deliberately do not give a single "number of months" figure. Any fixed figure would be a guess: two 10 marla houses with different designs, basements, finishes and payment patterns can take very different lengths of time. Instead, use the stages below to build your own schedule with your engineer and contractor.
What drives the construction timeline for a 10 marla house
Before looking at stages, it helps to know which factors actually move the end date:
- Approvals and drawings. Work should not start until the architectural and structural drawings are final and the plan is approved by the relevant authority (a development authority, cantonment board or the housing society, depending on where the plot is).
- Design complexity. A basement, double-height spaces, cantilevers or a full second storey all add stages and curing time.
- Cash flow. Most private houses slow down not because of the builder but because the next stage payment, or the owner's own material purchase, is late.
- Decisions during finishing. Tiles, sanitary fittings, kitchen, doors and electrical layout all need owner decisions. Late decisions are one of the most common reasons finishing drags on.
- Weather. In Quetta, cold winters affect concrete work, curing and some finishing trades. Many owners plan structural work for the warmer months.
- Contract type. Under a labour-only arrangement the owner buys materials, so supply gaps fall on the owner. Under a complete contract the contractor carries that responsibility. Our guide to labour-only vs complete construction contracts explains the trade-offs.
Stage 1: Before any digging starts
This stage is invisible on site but sets the pace for everything else.
- 1Confirm the plot. Verify ownership documents, boundaries and any society dues or possession requirements before spending on design.
- 2Soil and site check. Ask your engineer whether a soil investigation is needed. It affects foundation design, especially on sloping or filled ground.
- 3Architectural design. Finalise room layout, number of storeys and any basement. Changing the design after excavation is expensive and slow.
- 4Structural design. A qualified structural engineer should design foundations, columns, beams and slabs. Quetta is in a seismically active region, so this is not a step to skip. Our article on building for Quetta's climate and earthquake safety covers this in more detail.
- 5Plan approval. Submit drawings to the authority or society that controls the plot and wait for approval. The time this takes varies by authority and by how complete your file is, so ask the office directly rather than relying on hearsay.
- 6Contract and payment schedule. Sign a written agreement that ties payments to completed stages, not to dates.
Stage 2: Excavation and foundations
Once marking out is done, the contractor excavates to the depth shown on the structural drawings. Foundation work typically includes a lean concrete layer, footings or a raft, steel reinforcement, plinth beams and damp-proofing.
The key timing point here is inspection. Your engineer should check excavation depth, steel placement and cover before concrete is poured. If the engineer is not available, the pour should wait. A day lost waiting for an inspection is cheaper than a foundation that has to be broken out.
A basement adds a significant block of time at this stage: deeper excavation, retaining walls, waterproofing and more curing.
Stage 3: Grey structure
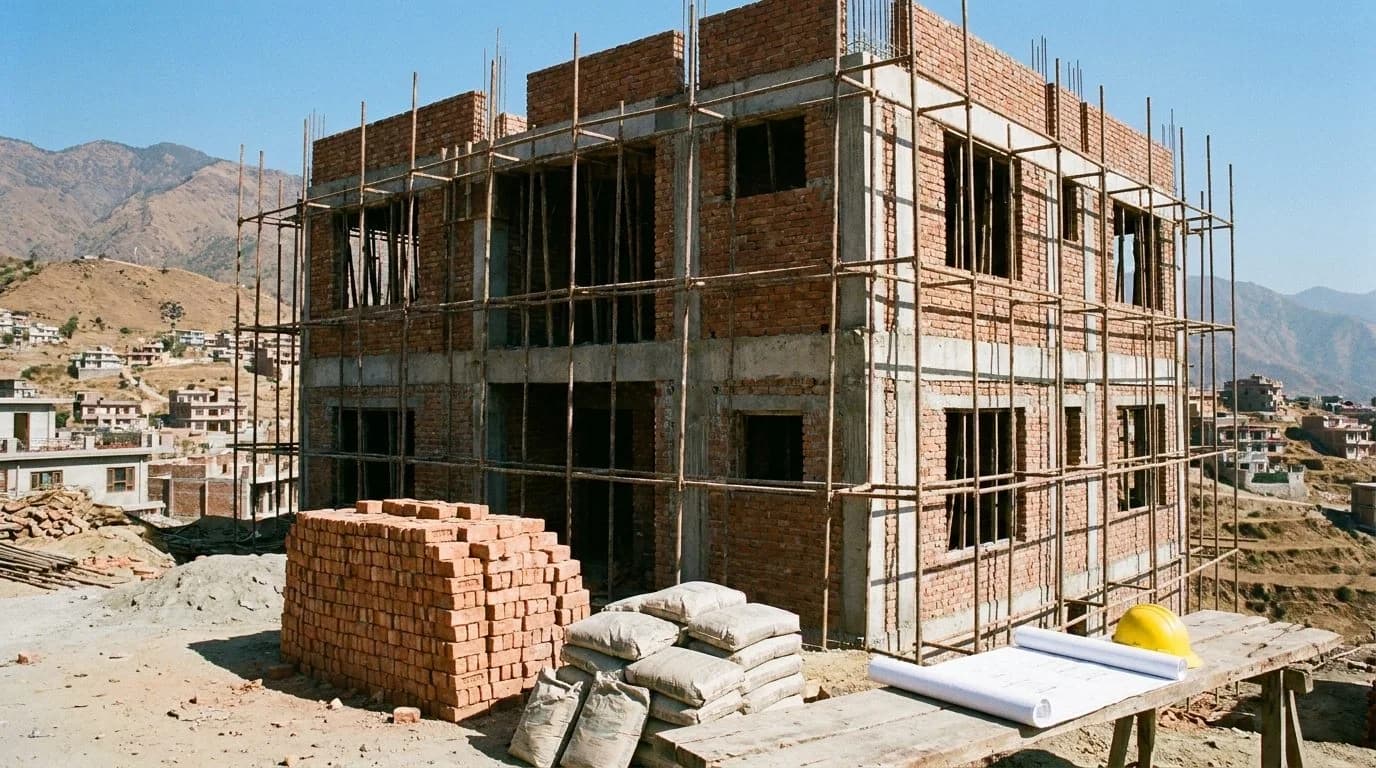
The grey structure is the frame and shell of the house: columns, beams, slabs, brick or block walls, and the roof slab. For a typical double-storey 10 marla house the work repeats floor by floor:
- 1Columns up to slab level.
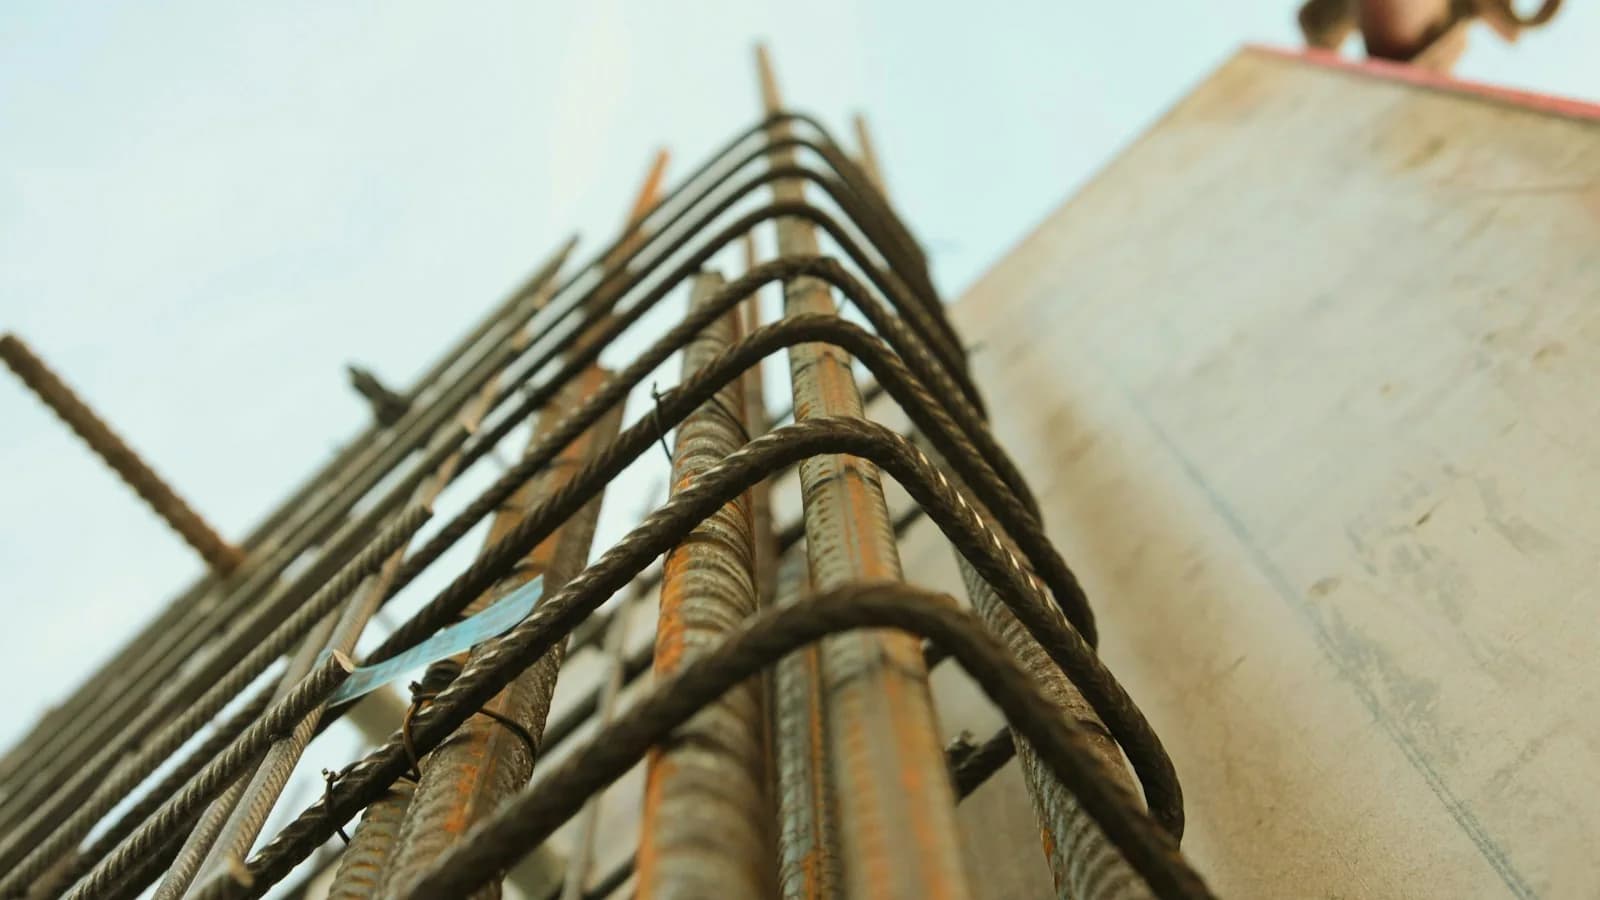
- 2Formwork (shuttering) and reinforcement for beams and slab.
- 3Engineer's check of steel before the pour.
- 4Slab pour, followed by curing.
- 5Removal of formwork and props only when the engineer allows it.
- 6Masonry walls for that floor.
Why curing and formwork set the pace
Concrete gains strength over days and weeks, and it needs moisture to do so. Rushing curing or removing props too early is one of the main ways a fast schedule turns into a structural problem. As a reference point, the Indian Standard IS 456, widely consulted in the region, gives minimum stripping periods for ordinary Portland cement in normal temperatures such as 7 days for props under slabs spanning up to 4.5 m and 14 days for longer spans, with longer periods recommended in cold weather. Your structural engineer's instructions for your building take priority over any general table.
What is usually included in the grey structure
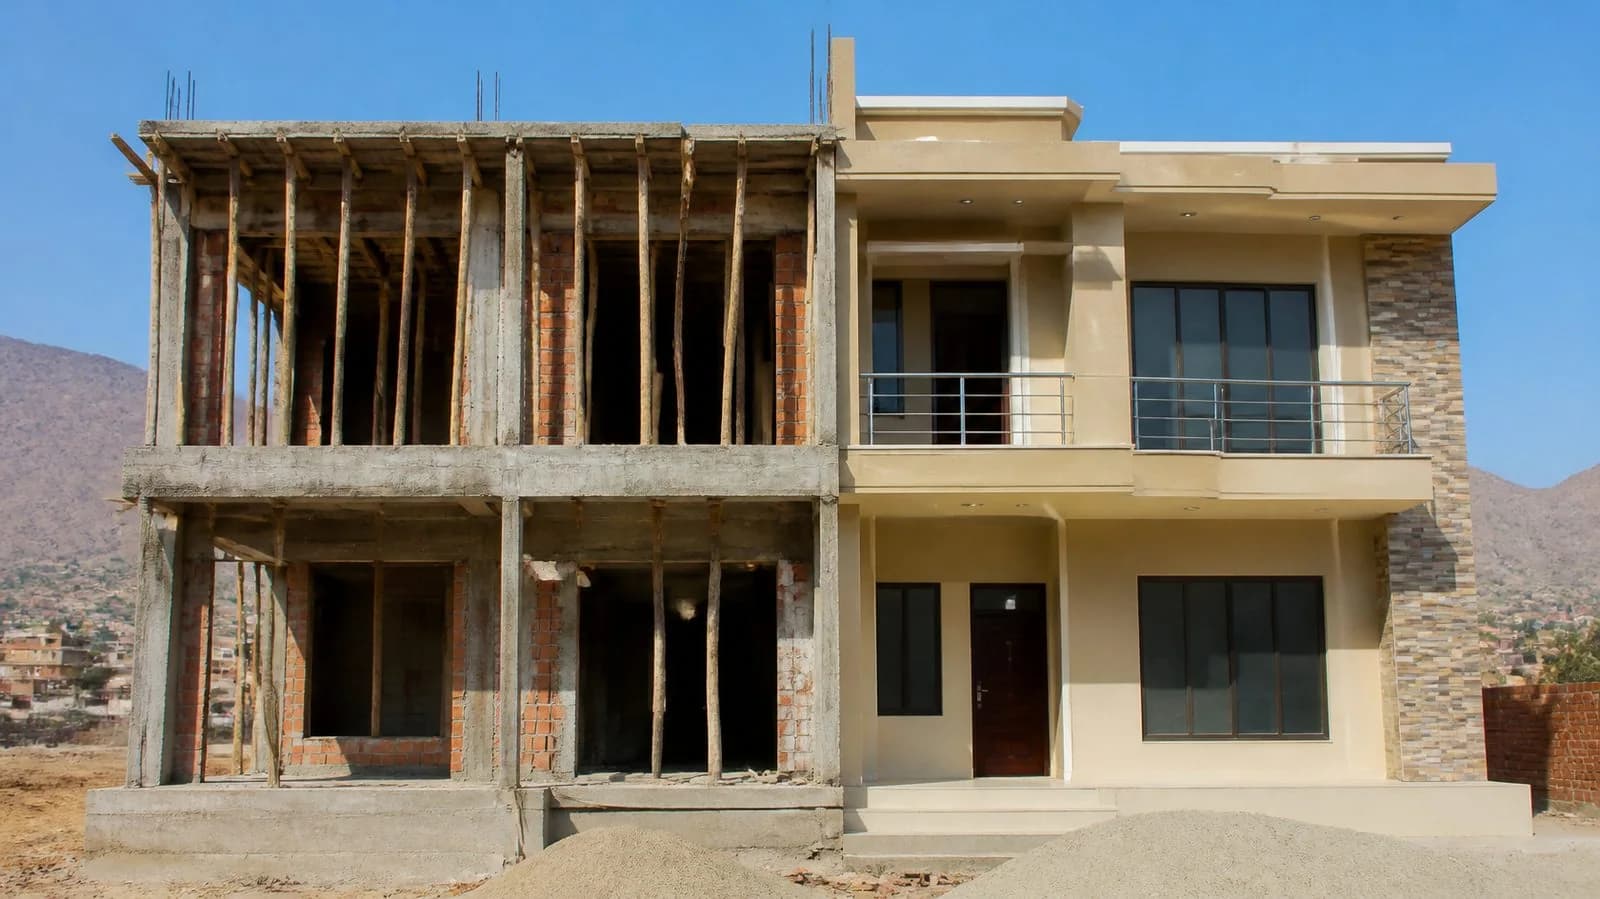
Most contractors also place electrical conduits and some plumbing lines in walls and slabs during this stage, so the electrical and plumbing layout needs to be decided early. For a fuller list, see our guide to grey structure vs finishing.
Stage 4: Services rough-in and plaster
After the shell is up, the house moves into services and wall finishing:
- Electrical wiring pulled through conduits, and distribution board positions fixed.
- Water supply, drainage and gas lines installed and pressure-tested where applicable.
- Internal and external plaster.
- Roof waterproofing and insulation, which matters in Quetta's winters and summers.
Testing before plaster and flooring is important. A leak found after tiling means breaking finished work.
Stage 5: Finishing
Finishing is where timelines most often slip, because it involves many separate trades and many owner decisions. Typical finishing work includes:
| Work package | Decision the owner usually needs to make | Common cause of delay |
|---|---|---|
| Flooring and tiles | Tile type, size, pattern for each room | Late selection or stock shortage |
| Doors and windows | Material (wood, uPVC, aluminium), glass type | Custom sizes ordered late |
| Kitchen and wardrobes | Layout, materials, appliances | Design changes after measurement |
| Bathrooms | Sanitary fittings, mixers, geysers | Fittings bought after walls are tiled |
| Electrical fittings | Switches, lights, fans, sockets | Changes to points after plaster |
| Paint | Colours and finish | Weather and drying time |
The simplest way to protect the finishing schedule is to make your main selections before the grey structure is complete, and to give the contractor a written finishing specification.
Stage 6: Handover and completion
Before you accept the house, walk through every room with your engineer or a trusted adviser and make a written snag list: cracks, leaks, uneven tiles, doors that do not close, electrical points that do not work. Agree a date for fixing each item.
Also check what your society or authority requires at the end of construction, such as a completion certificate or a utility connection process. Requirements vary, so confirm them with the relevant office.
A simple way to build your own schedule
Rather than relying on a single promised date, ask your contractor for a written schedule with these columns:
- 1Stage name (for example, "first floor slab").
- 2Planned start and finish week.
- 3Inspection required before the next step.
- 4Payment linked to completion.
- 5Owner decisions or purchases needed before that stage.
Review it every two weeks. If a stage slips, ask why and adjust the following dates, rather than pressing the contractor to skip curing or inspections.
How NASASI Estate helps
NASASI Estate offers construction services and property advisory in Quetta. We can help you plan stages, prepare a written schedule and payment plan, and coordinate the work. If you are building from abroad, our overseas support can keep you updated. Contact us to discuss your plot.
Frequently asked questions
How long does a 10 marla house take to build?
There is no reliable single answer. The total depends on design, basement, contract type, payment flow, owner decisions and weather. Ask your contractor for a stage-by-stage written schedule and track it rather than relying on one end date.
Can construction be done faster?
Some time can be saved by finalising drawings and finishing selections early, keeping payments on schedule and ordering long-lead items in advance. Curing time, formwork removal and inspections should not be cut short to save time.
Is it better to build in summer or winter in Quetta?
Many owners prefer to do concrete and structural work in warmer months, because cold weather slows curing and requires extra precautions. Discuss timing with your structural engineer.
What usually delays finishing the most?
Late owner decisions on tiles, kitchens, bathrooms and doors, and changes after work has started. Preparing a written finishing specification early helps avoid this.